For instance, when we intend to include this cloud and text markup in all drawings, our current process involves adding a cloud followed by a text box. However, this repetitive action for each drawing proves to be extremely time-consuming. So, I’m going to share a trick with you (which Tekla already has) as an alternative solution.
 |
What to do:
* First, you need to create a markup exactly how you want it.
* Next, select the elements that you want to be included in the markup. Be careful when selecting, as even a line that is selected will be included.
 |
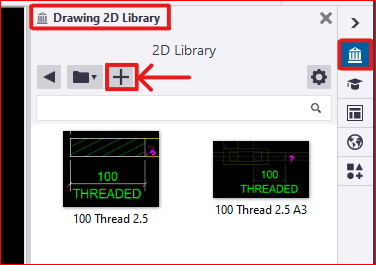
* In the Tekla drawing workspace, you’ll find the ‘2D Library’ option. Open it and to add a new detail, click the plus icon
 |
* Next, you need to select a reference point near the markup. This reference point will serve as the future insertion point for your detail in every drawing
 |
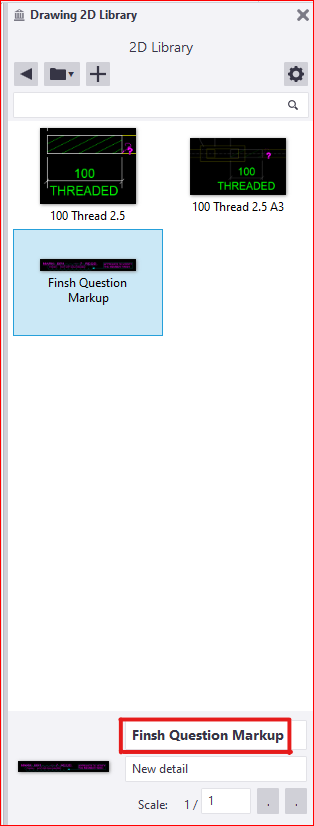
* The next step is to select an area that will serve as your reference image, appearing like a thumbnail. after that the detail will be created and the the library looks like this
 |
* There are others options available to edit these existing details as well. Feel free to explore these options; you won’t need additional tips for that |
* Finally, if you wish to insert this into another drawing, you just need to select and pick the insertion point in your drawing. The chosen detail insertion point will determine its placement. ( for example, I chose a location where I didn’t want the detail to appear.. 🙂 )
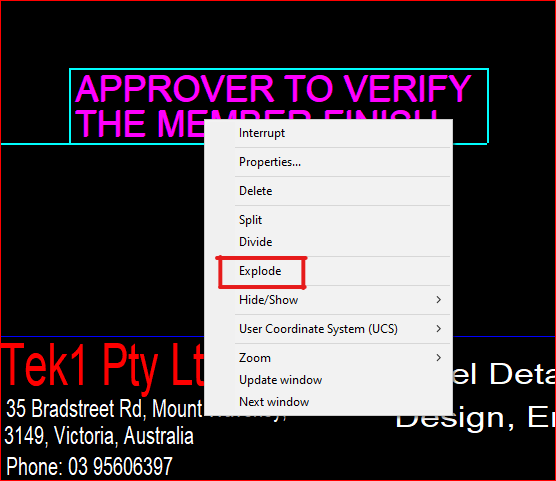
* You can select and then right-click the mouse to choose the “explode” option, allowing you to select each individual element within the detail markup
| ****************** linkedin/anson.suhesh ******************** |


Leave a Reply