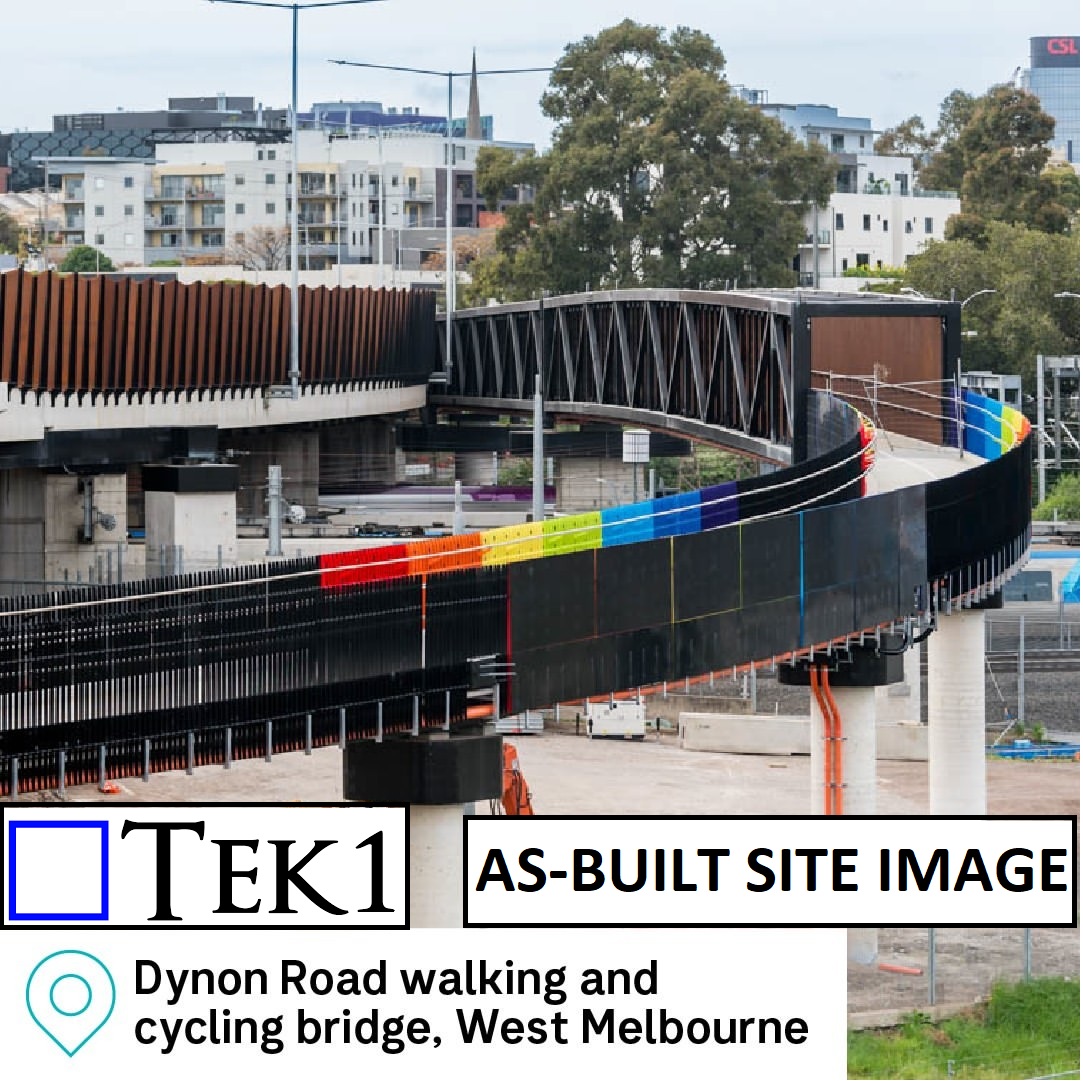
TEK1 recently completed the Bridge#84 Dynon Road Walking & Cycling bridge, West Melbourne.
The bridge stands out with its 230-meter-long balustrade panels, which feature vibrant, rainbow-colored finishes, enhancing its aesthetic appeal to the public and seamlessly blending functionality with artistry.
Challenges in the As-Built Stage
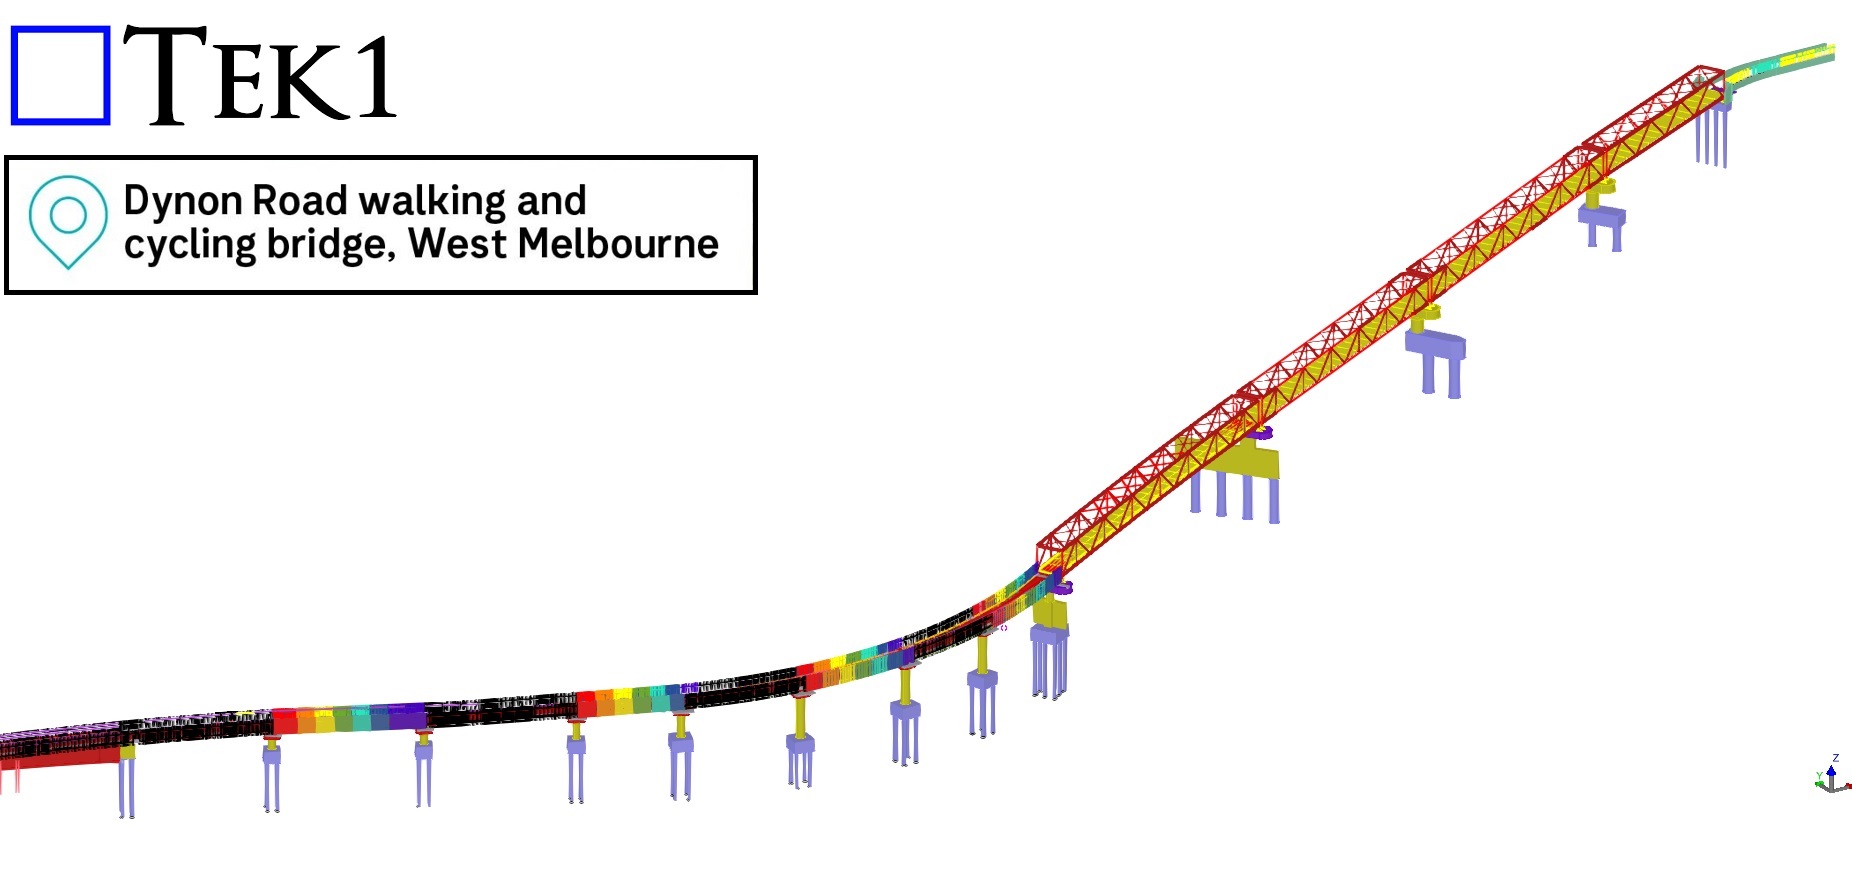
One of the most intriguing aspects of this project was the challenge posed by the as-built ramp slope and its curve, which deviated significantly from the original design coordinates. These deviations added a layer of complexity to detailing the balustrades, as each panel had to align perfectly with the precast kerbs.
To address this, we worked closely with the builder and requested precise site measurements. These measurements were essential for us to adjust our detailing to account for the as-built ramp’s unique coordinates, ensuring every panel fit perfectly into place.
Tailored Solutions for On-Site Realities
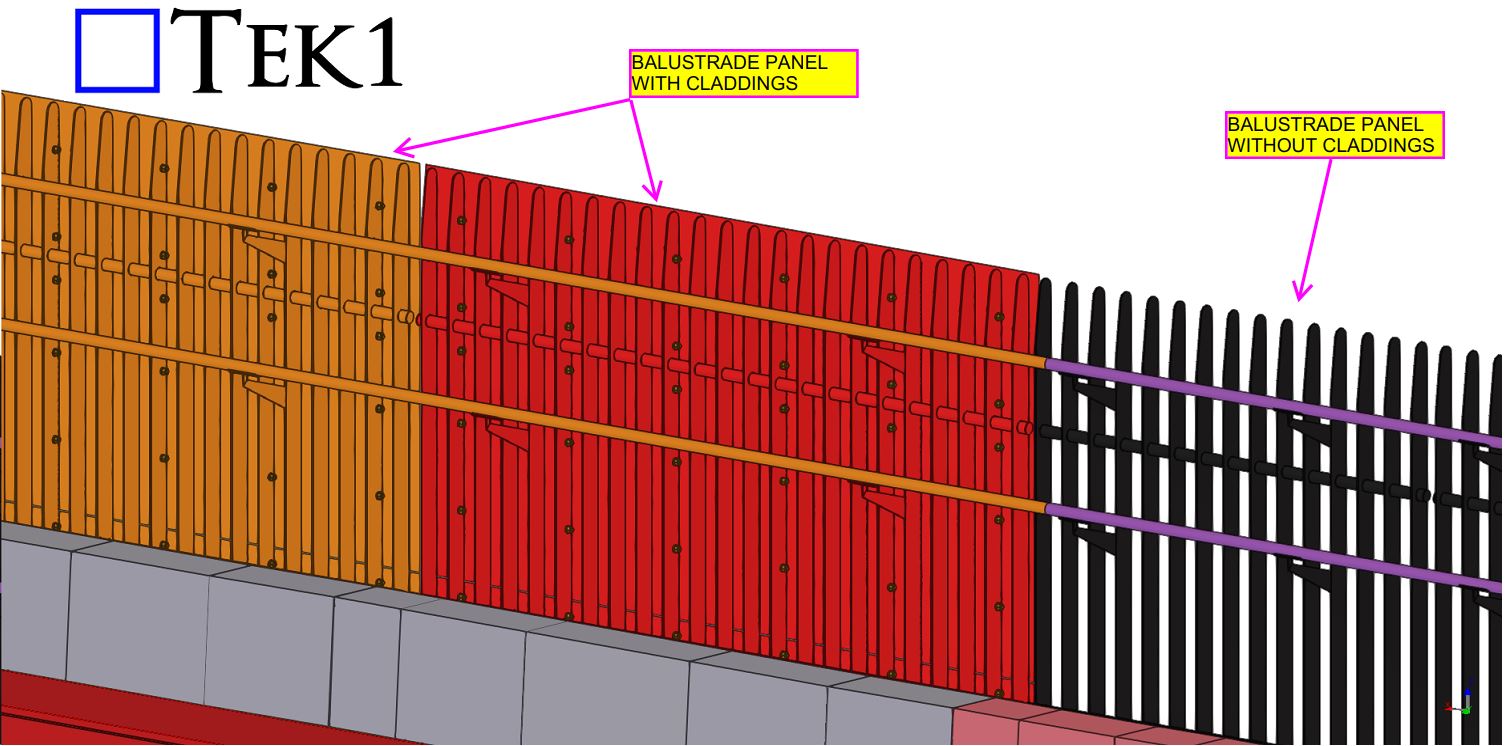
The balustrade panels were fixed to the precast kerbs using as-built ferrules, demonstrating the adaptability required in projects where site conditions differ from the initial design. By leveraging the site measurements provided, we completed the detailing of all balustrades with precision, overcoming the complexities introduced by the ramp’s deviations.
Conclusion:
The Dynon Road Walking & Cycling Bridge is not just a pathway; it’s a vivid example of how meticulous detailing and innovative problem-solving can overcome challenges to deliver exceptional results. Its rainbow-colored balustrades are now a standout feature in West Melbourne, adding vibrancy and charm to the community.
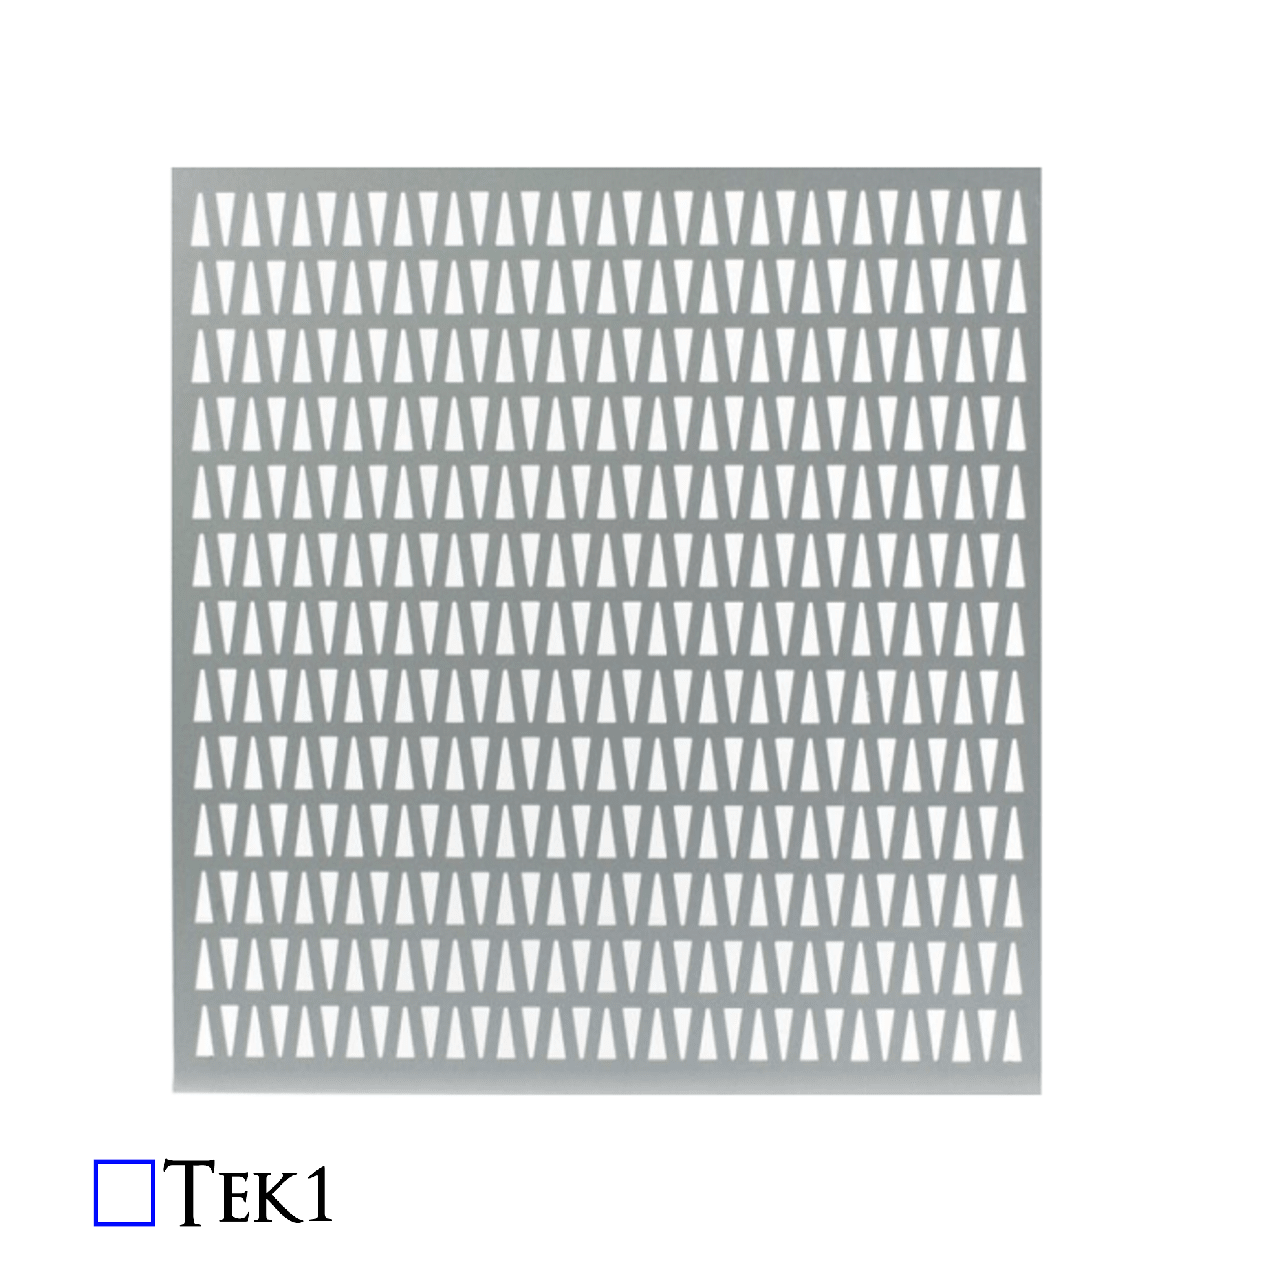
When working with elements like cladding plates, balustrade infills, decorative panels, and chequer plates, the approach to modelling them differs significantly from that used for standard structural plates. Ensuring accuracy in these cases hinges on a thorough understanding of working points and the rotation property, which are essential for ensuring the correct orientation of the visible side when generating drawings or DXF files.
Understanding the Critical Role of Working Points
It might seem simple to assume that these sheets can be flipped or rotated as needed after they are cut. However, this is a common misconception that can lead to significant errors during fabrication. The key to avoiding such issues lies in setting up the working points correctly, particularly when dealing with intricate designs or surface finishes.
The Importance of Proper Rotation
Take a stair panel, for example. If the panel features any patterns or surface differences, the working point must run in the direction from left to right when facing the stair panel. Additionally, the rotation must be set to either “top” or “front”—never “bottom” or “back.” This ensures that the visible side of the panel is correctly positioned.
Symmetry Doesn’t Eliminate the Need for Attention
Even in cases where the pattern is symmetrical or there appears to be no pattern at all, the orientation of the face of the sheet is crucial. It’s easy to think that since the machine will cut the plate according to the DXF file, it doesn’t matter how the drawing is flipped or rotated. However, this is where problems can arise.
Avoiding Aesthetic Imperfections
During the cutting process, the machine can leave minor marks on the material. These marks are typically left on the non-visible side of the sheet. Therefore, it’s critical to feed the sheet into the machine with the correct side facing outwards. If not, the marks could end up on the visible side, compromising the aesthetics of the final product.
Conclusion: Precision is Key to Quality
Proper modelling and careful consideration of working points and rotation properties are essential when dealing with cladding plates, balustrade infills, decorative panels, and chequer plates. By ensuring the visible side is correctly oriented from the start, you can avoid costly mistakes and ensure a high-quality finish.
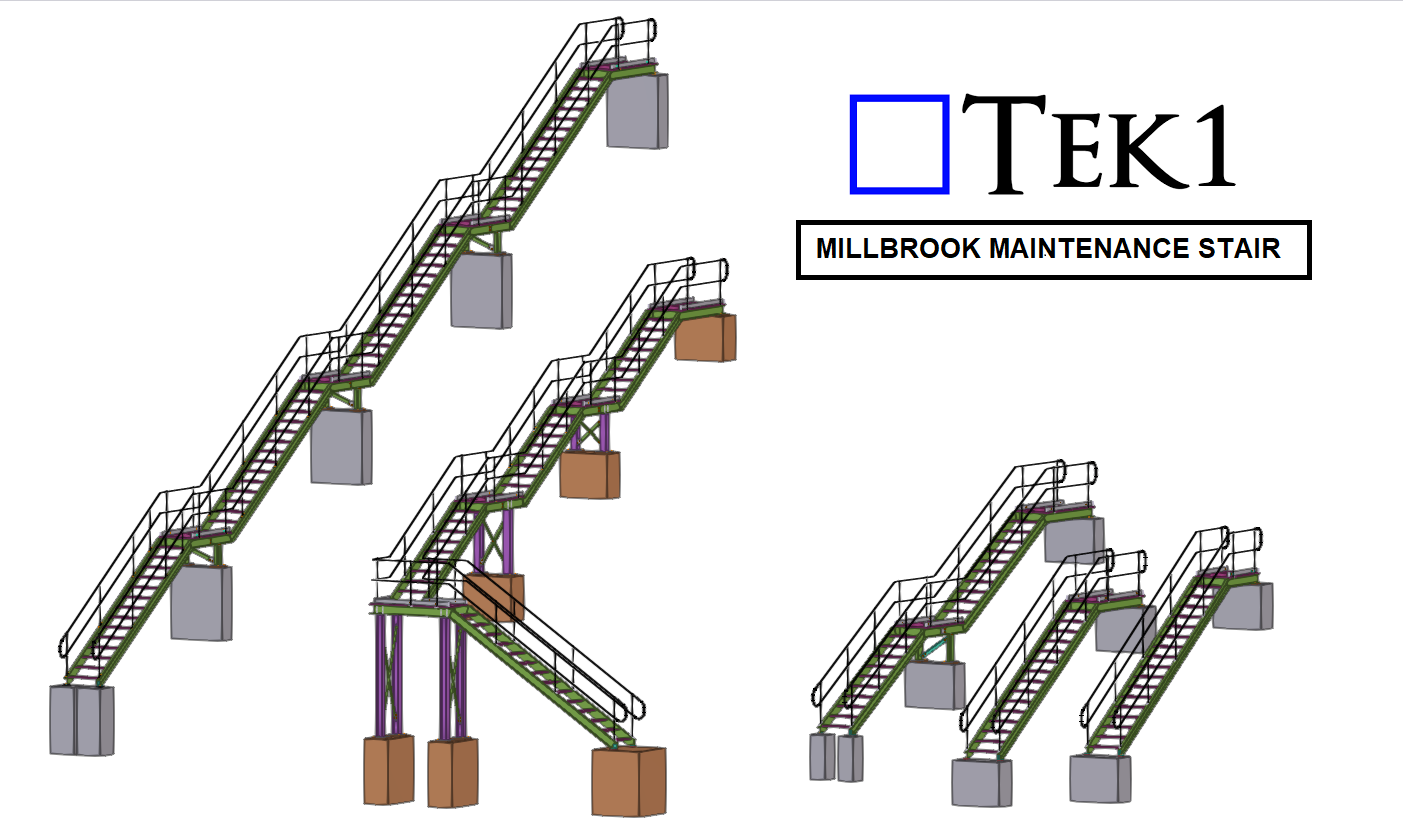
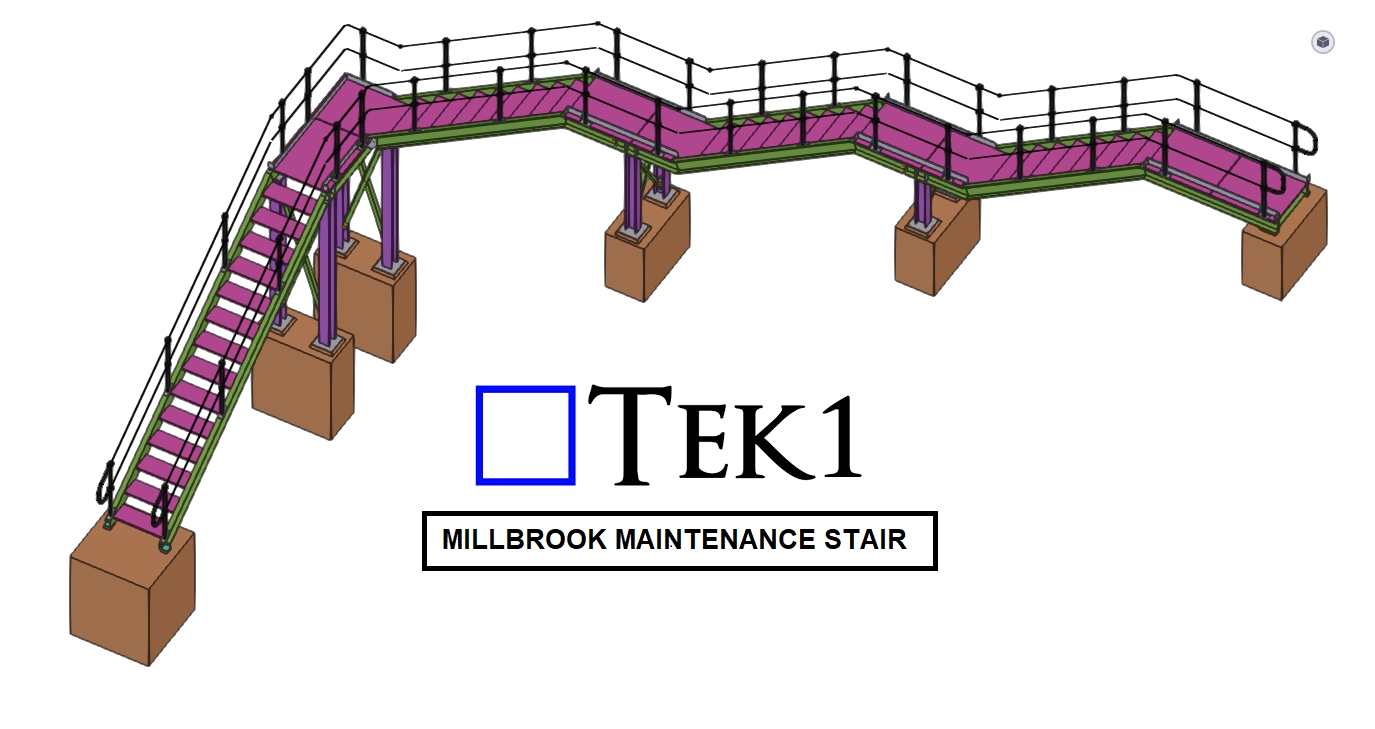
TEK1 recently did the 5-different types of railway Maintenance stairs with varying chainage. We are using our own macros to Model & detail these stairs pretty easier.
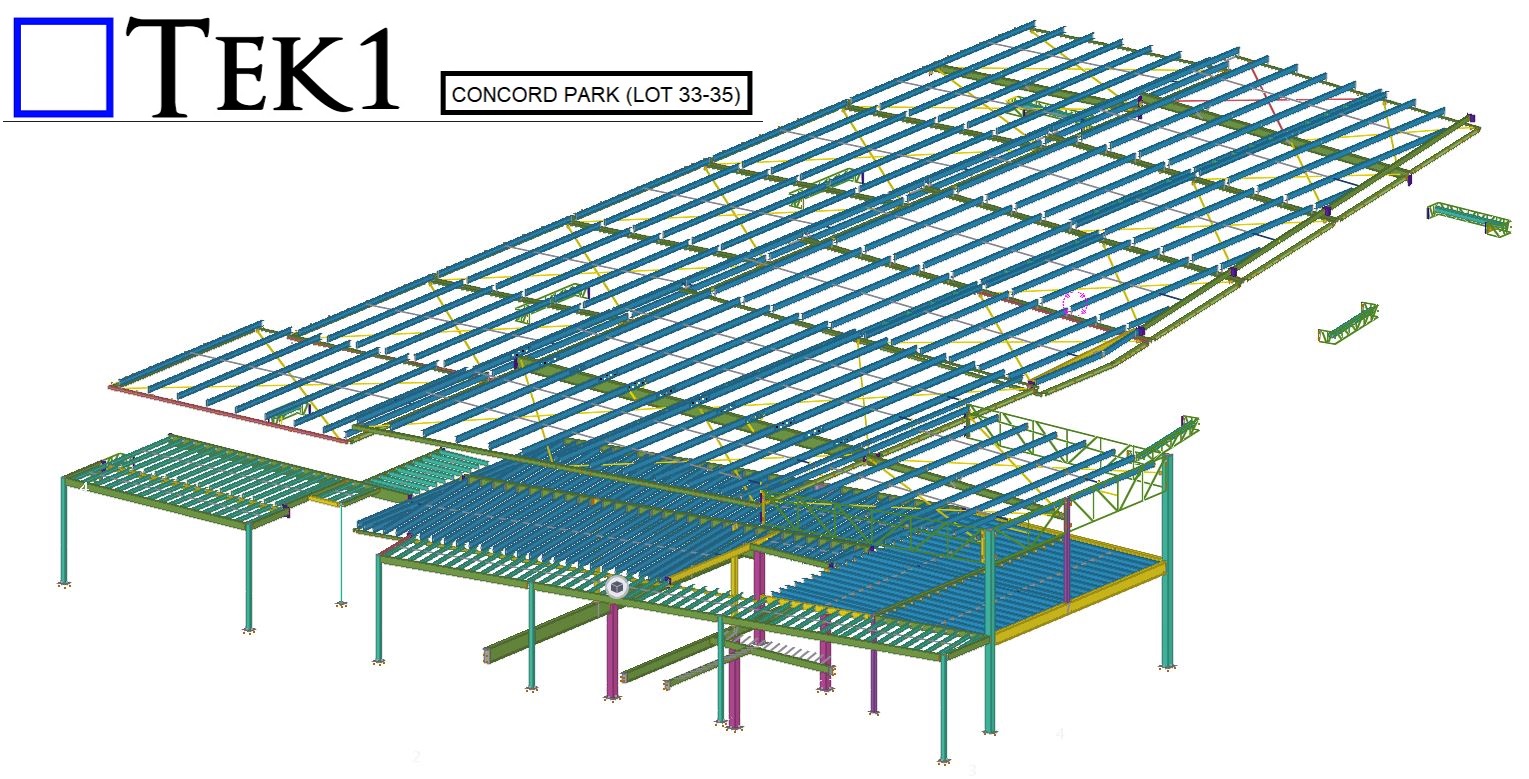
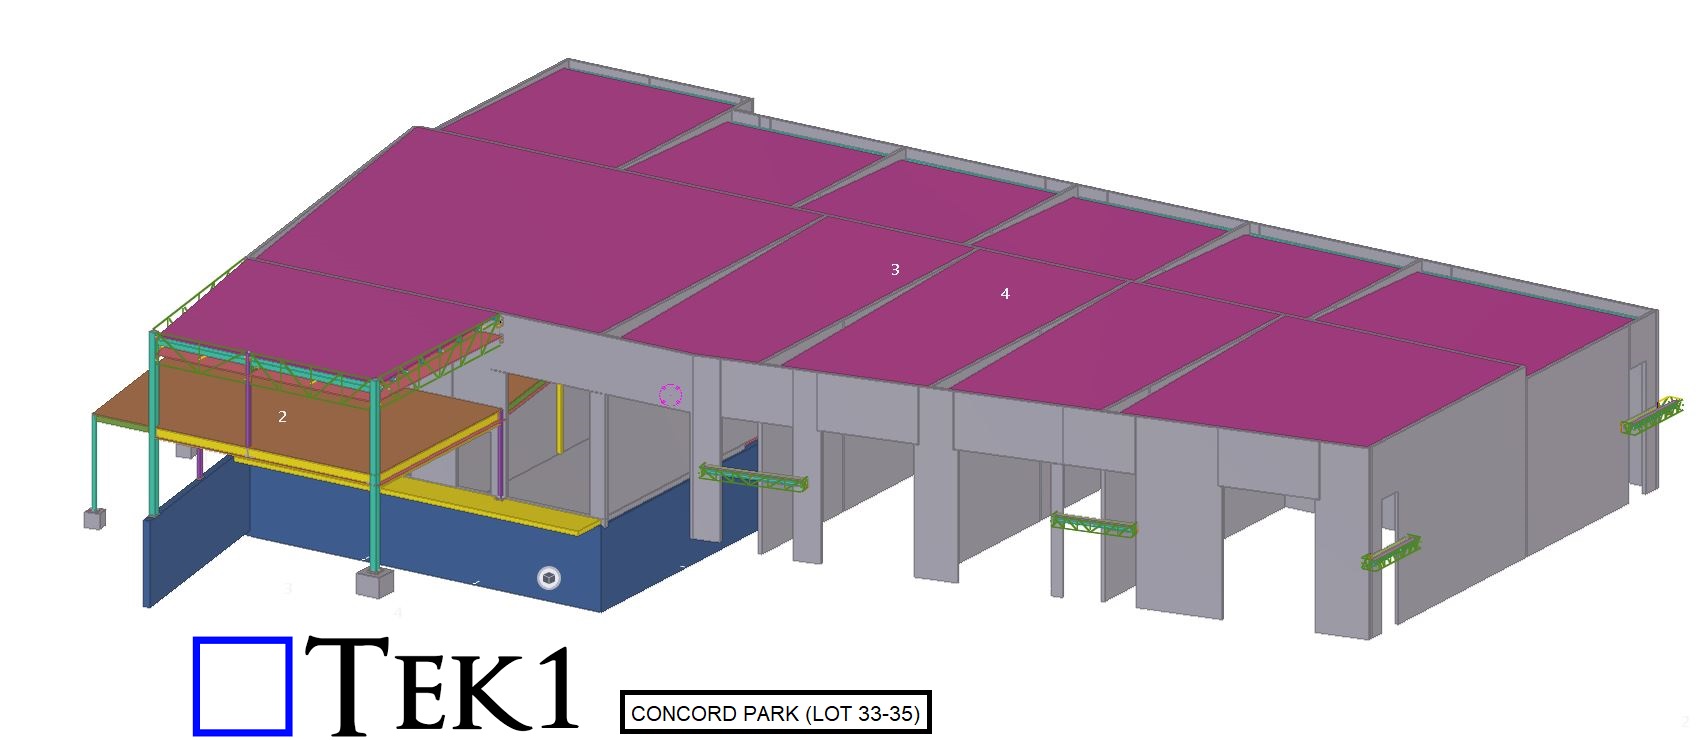
Tek1 has extended their tool kit by adding Revit Structural and Tekla Precast to detail precast concrete.
We were trialing precast for a few months now. We have developed some internal tools to handle precast panel shop drawing efficiently.
Tekla for Precast
We are experts in using Teka for steel detailing. Now are embarking on using Tekla for detailing precast. As first step, we have upgraded our 2 steel detailing Licenses in Melbourne to Global License and upgraded to enterprise. We are running parallel trials with Revit and Tekla to test whether Tekla will make the grade.